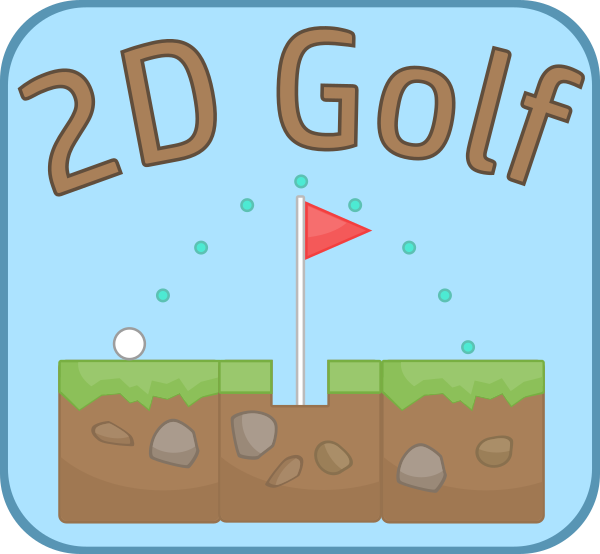
Golf in 2D!
Introduction
This project features a 2D Golf game made using the open-source Godot engine. All gameplay functionality was written using GDScript (very similar in syntax to C#) and Godot’s own API. This page details highlights of some of the elements included in the game prototype along with a breakdown of how certain features were implemented. Godot was chosen as it is open-source, community-driven and written with C++, a language that I am confident with. This allowed me to develop an insight into understanding the inner workings of a game engine, particularly with regards to the simulation of physics. I also created a fun game prototype out of it, of course!
 |
Game Architecture
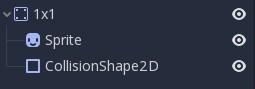
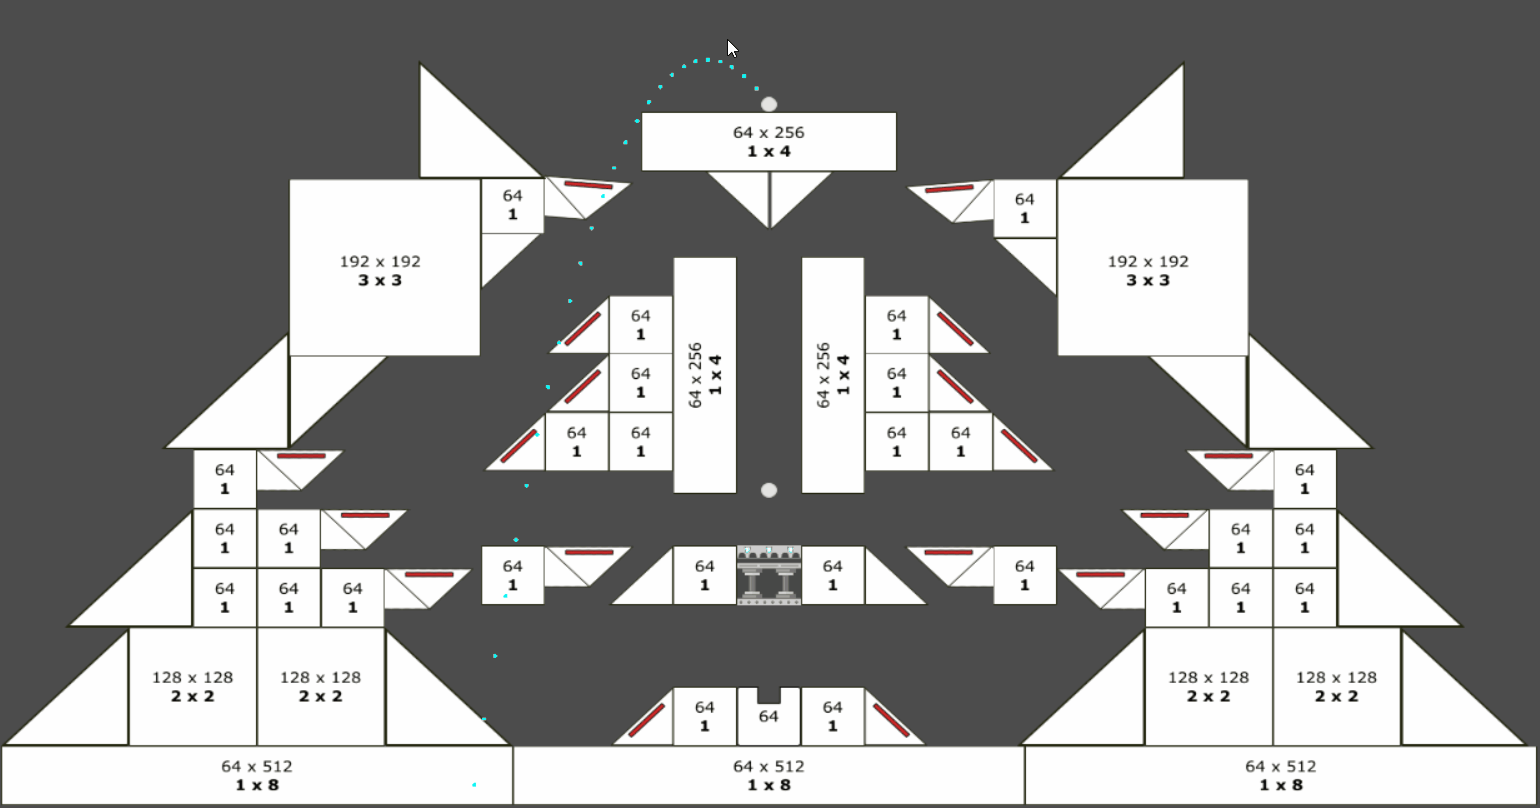
In the Godot engine, levels are composed of ‘nodes’. Scripts are attached to nodes to implement functionality. Nodes can be parented to other nodes to form tree-like structures. In this way, the Godot engine uses both inheritance (attaching scripts to derive an inherited class) and composition (attaching nodes as children to other nodes) to create complex games. The image below demonstrates this concept - it is the default structure of nodes that makes up a basic level in 2D Golf. I always begin with this structure when implementing new levels.
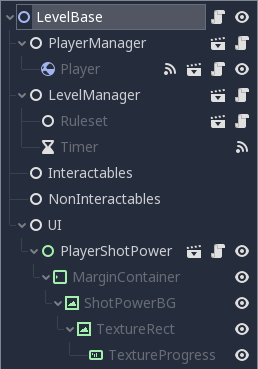 | 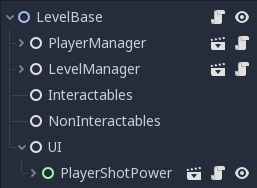 |
| Default Level Tree (Expanded) | Default Level Tree |
In the Godot engine, nodes communicate with each other using references obtained from the scene tree (by either navigating through the parent-child relationships or through hard-coded paths). It is crucial, then, that the scene tree for a level always uses the same structure so that the functionality programmed into nodes is reusable across levels.
Level Manager
The level manager is responsible for storing and manipulating all of the key level-specific data, including how many shots the player has left, how much time is left, the players score etc. It also communicates with the player manager and user interface. It has a child node called ‘ruleset’. The ruleset node defines the nature of the level - Is there a time limit? Is there a limit to the number of shots? The player manager node has a common interface with the ruleset node, allowing new rulesets to be made by inheriting from the base ruleset node to add or change funcionality.
extends Node

##Scene References##
var interactables
var ruleset
var player_ui

##Internal variables##
var shots_left
var time_left
var timer

# Called when the node enters the scene tree for the first time.
func _ready():
	interactables = get_parent().get_node("Interactables")
	ruleset = get_node("Ruleset")
	player_ui = get_parent().get_node("UI/PlayerUI")
	timer = $Timer
	shots_left = ruleset.num_shots
	time_left = ruleset.time_limit
	if shots_left != INF:
		player_ui.update_shots(shots_left)
	#if time_left != INF:
	#	timer.start(1)
The code block above shows the initialization of the level manager, demonstrating how to get a reference to another node using string-paths from the root node of the leve (as in “UI/PlayerUI”) and by navigating the parent-child tree (as in $Timer). Note that all class variables are public in Godot, so I opt to use the terminology ‘internal’ (to refer to variables modified by the class or its children within a script) and ‘external’ (to refer to variables that I have exposed to changes within the Godot editor).
Gameplay Features
This section will provide details on some of the many gameplay elements included in this prototype. The very basic level pictured below demonstrates the core gameplay mechanic and the user interface. There are far more interesting and varied features explored in this section!
 |
| That's a Bad Miss |
Static Objects
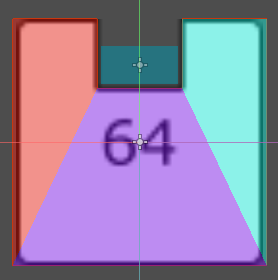
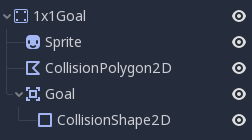
The majority of the level geometry is composed of static objects. These nodes have a Sprite (which includes functionality to render an image to the screen each frame) and a Collision Shape (which includes functionality to detect overlaps and collision within the physics engine). For nodes that have more complex shapes, the Collision Shape is replaced by a Collision Polygon. A Collision Polygon seperates the geometry of the shape (automatically or by hand) into distinct polygons to allow for efficient collsion detection.
  |
  |
| Simple Geometry | Complex Geometry |
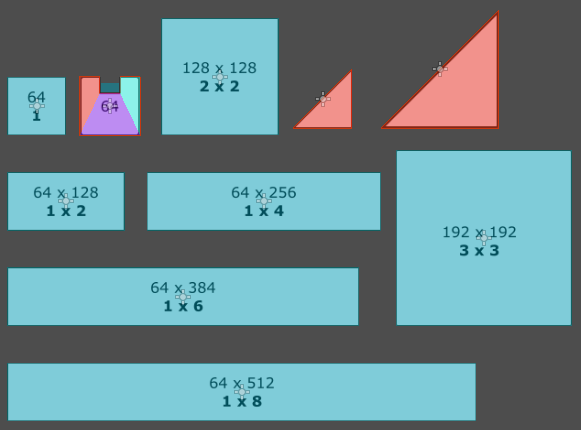
In order to rapidly prototype levels, I have implemented a collection of static object ‘prefabs’. Some of these are implementing Collision Shapes and some are implementing Collision Polygons - it depends upon the complexity of their geometry.
 |
Dynamic Objects
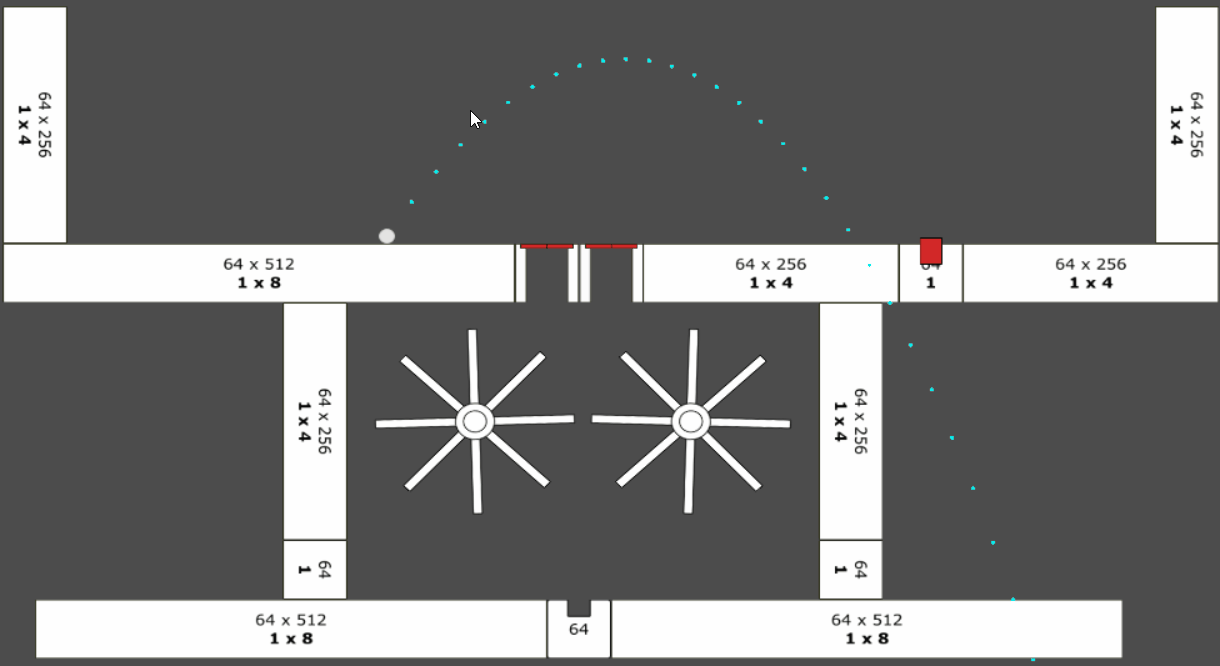
Rotations, translations and scale adjustments can all be made to static objects to create a variety of obstacles in the level. Since nodes can be attached to other nodes through composition, it is also possible to animate only part of an object and have reusable moving parts. The spinning wheel is an example of such an object below.
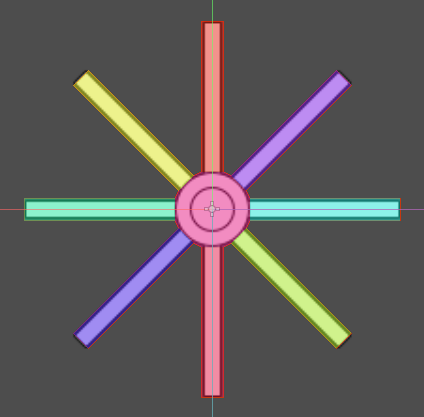 |
Some of the variables that dictate the nature of the components animation can be exposed to adjustment within the editor through the use of the ‘export’ keyword in GDScript. For the above wheel example, the rotational speed, the rotational direction and whether it begins turining automatically (as opposed to being activated) can all be changed in the editor on a per-instance basis thanks to the code portion below.
#external variables
export(bool) var automatic = true
export(bool) var clockwise = true
export(int) var speed_deg = 10 #degrees per second

#internal variables
var activated = false setget activated_set
var clockwise_int
 |
For some elements, I have attached children nodes that further allow customisation in the editor. For example, the moving platforms below have a node called ‘Platform End’ that can be positioned in the editor. The platform will always move towards this point. Some variables have also been exposed in the editor, including platform movement speed and wait time. All of this culminates in a moving platform node that is dynamic, reusable and easy to understand. The code block below describes this in further detail. The actual movement of the platform takes place in the “physics process” callback, which is synchronised to run in step with the physics engine to preserve collision interactions.
#external variables
export(int) var speed = 1
export(int) var wait_time = 3
export(bool) var automatic = true

#internal varaibles
var coll_shape
var wait_timer
var mid_sprite_tex
var move_vec
var current_dist
var b_moving = false
var activated = false setget activated_set
var b_waiting = false

func activated_set(p_activated):
	activated=p_activated

func _physics_process(delta):
	if activated and !b_waiting:
		if current_dist == 0:
			move_vec = -move_vec
			current_dist = move_vec.length()
			wait_timer.start()
			b_waiting = true
		else:
			$MovingPlatform.position += move_vec.clamped(min(speed,current_dist))
			current_dist -= min(speed,current_dist)

# Called when the node enters the scene tree for the first time.
func _ready():
	wait_timer = $Timer
	wait_timer.wait_time = wait_time
	coll_shape = $MovingPlatform/CollisionShape2D
	mid_sprite_tex = preload("res://Scenes/LevelDesign/Prefabs/MovingPlatform/platformMid.png")
	if automatic:
		activated = true
	else:
		activated = false
	move_vec = $PlatformEnd.position - $MovingPlatform.position
	current_dist = move_vec.length()

	#Set physics material through code
	Physics2DServer.body_set_param($MovingPlatform.get_rid(), Physics2DServer.BODY_PARAM_BOUNCE, 0)
	Physics2DServer.body_set_param($MovingPlatform.get_rid(), Physics2DServer.BODY_PARAM_FRICTION, 1)
Interactive elements
Within the framework of my game prototype, there are lots of gameplay elements (such as the spinner and moving platform seen before) that can be activated and deactivated. I refer to these elements as ‘interactive elements’, and they all implement a common interface. This lets me activate and/or deactivate multiple interactive elements with the same function call. The crucial aspect of this approach is the use of ‘setter’ and ‘getter’ functions that are called when a class variable is changed, allowing all of the logic and animation of an interactive element to be handled by itself at the moment of activation/deactivation. Below we can see some examples of interactive elements being activated/deactivated by the two types of nodes that I have made to currently support this - buttons and pressure plates.
 |
| Pressure Plate |
 |
| Button |
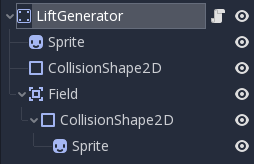
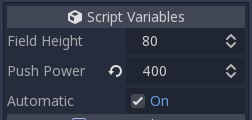
Force Generators
I have used the Area2D node provided by Godot to implement ‘force generator’ nodes that effectively push or pull the player’s ball when it is within a defined region. Since the force generator node inherits from the Area2D node, it retains the functionality to detect overlapping physics bodies within a defined region. If it detects a physics body, it checks to see that it is a player ball and then subsequently modifies or overwrites the forces acting upon the player’s ball in each step of the physics engine.
  |
 |
| Generator Construction | |
 |
| Oh Dear, Oh Dear |
Launchers
In Godot, a wide range of a nodes properties can be animated. I have used this feature to create a custom ‘launcher’ node that launches the player’s ball. By exposing variables in the editor, the movement of the launcher node can be heavily customised during the level design process. The code block below shows how the custom ‘flip’ animation is created using variables set on a per-instance basis in the editor. Note that each launcher node in a level gets its own animation resource copy using the duplicate() method - resources are shared between nodes in Godot by default, which is not the desired behaviour here as it would force all launchers to behave identically.
	#Set user-defined editor properties for flip animation
	#var flip_anim = anim_player.get_animation("Flip")
	var flip_anim = preload("res://Scenes/LevelDesign/Prefabs/Flipper/flip.tres").duplicate()
	flip_anim.add_track(flip_anim.TYPE_VALUE,0) #FINISH
	flip_anim.track_set_path(0,"../Flipper:rotation_degrees")
	flip_anim.track_insert_key(0,0,0,1)
	flip_anim.track_insert_key(0,flip_time,45,1)
	flip_anim.track_insert_key(0,flip_time+flip_hold_time,45,1)
	flip_anim.track_insert_key(0,flip_time+flip_time+flip_hold_time,0,1)
	flip_anim.set_length(flip_time+flip_time+flip_hold_time)
	anim_player.add_animation(name,flip_anim)
As you can see in the prototype level below, each flipper can then be customised to behave uniquely.
 |
| Pinball |
Physical Surface Properties
In order to create more variety in level designs, the static ojects in my game have properties that can be changed and modified to effect collisions in different ways. This allows me to simulate a range of different surface types. The demonstrations below show prototype version of ice, sand and a regular surface.
 |
| Regular |
 |
| Ice (Low Friction) |
 |
| Sand (Low Bounce) |